
Yes, most people probably think that flat floors are pretty well par for the course and, well, standard, but not in the blue house on the corner.
You see, when the previous/original owners added in the family room addition, they didn't seem overly concerned about the fact that the floors of the addition and the main house didn't match up.

(do you like my update floor plan? it's approximate)
It's not even that the floors don't match up. That wouldn't have been as much of an issue. The issue was more so that there was a GIANT hump between the two rooms. There was quite literally a ramp that led up to the doorway to the family room and then a ramp that led back down again on the other side.
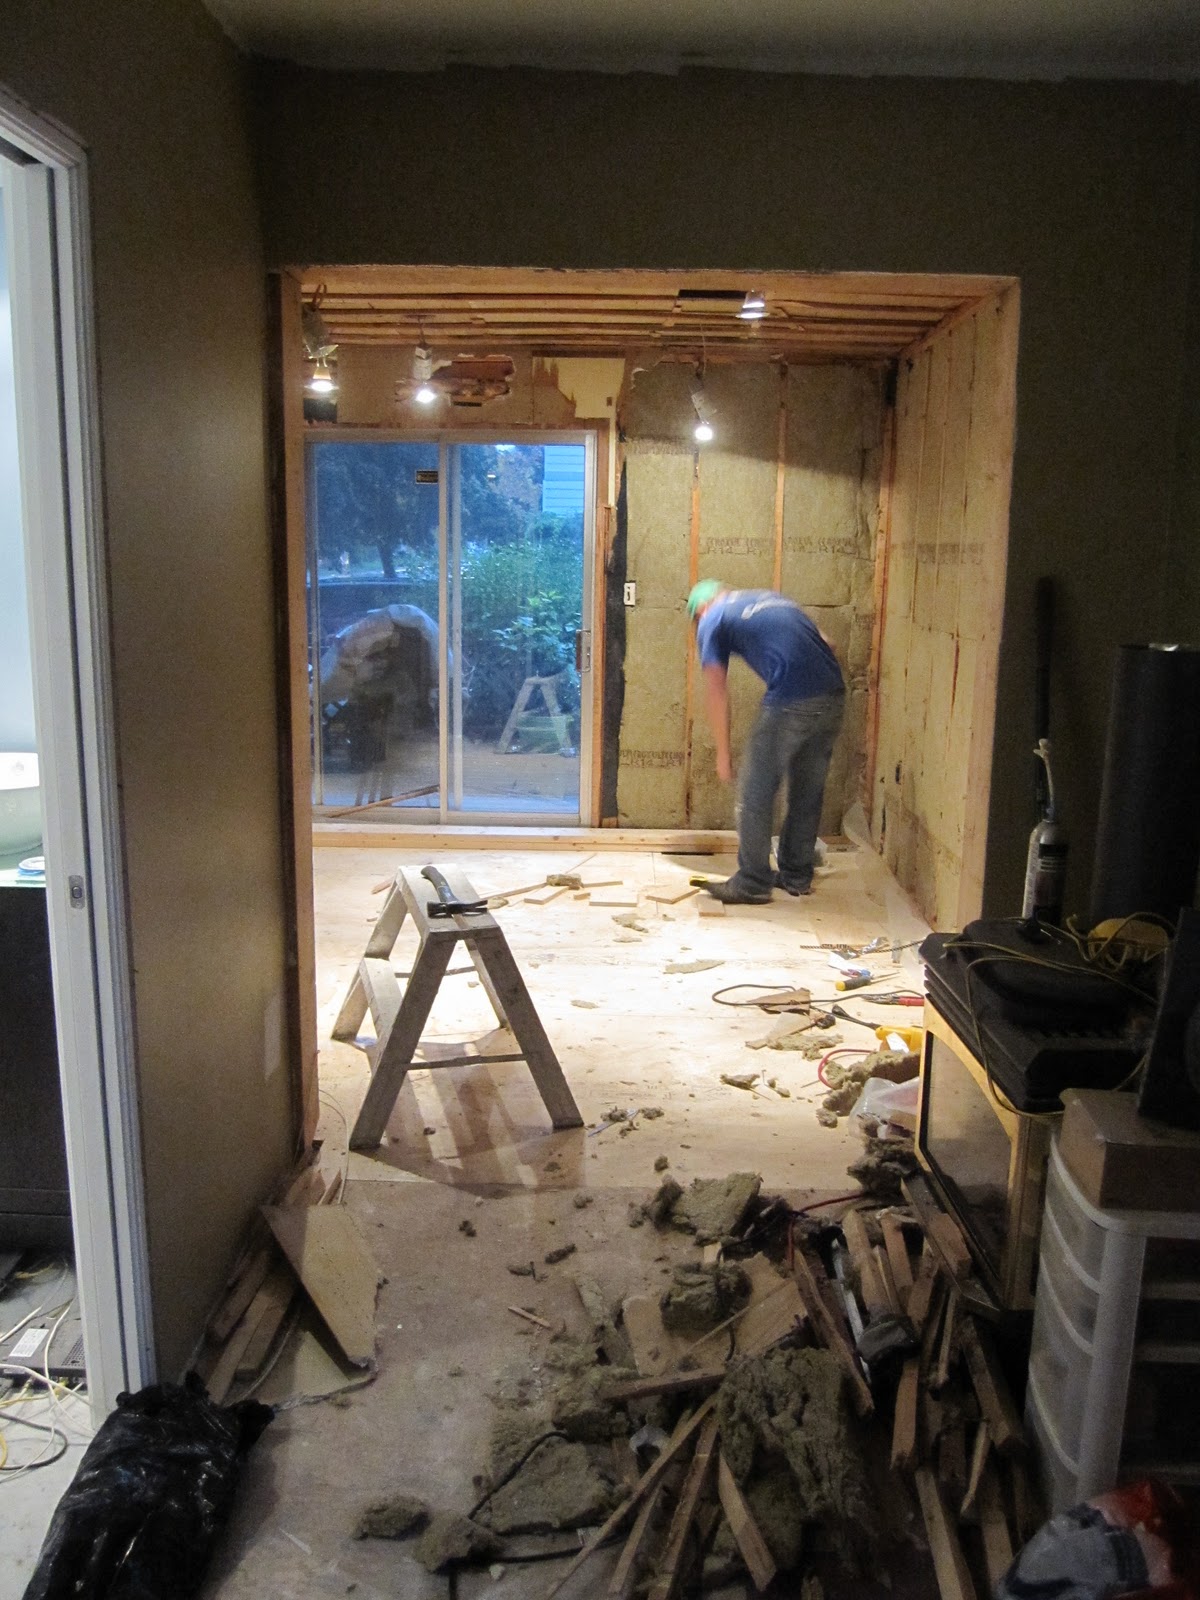
You can sort of see it here, in the picture that also shows the many many layers of flooring we had to deal with in the den:

The garbage bag is sitting at the very top of the hump, and where you can see the plywood, well,, that's the down slope.
So, Derek did what Derek does best and I came home one day to find that this:

now looked like this:

which quickly became this:

Yes, that's dirt. In my house.
I wish I has pictures that illustrated just how unlevel the floor was. At the door between the addition and the main part of the house the floor was 3 1/4" higher than the floor in the main house and at least 1 1/2" higher than the floor in the addition itself.
Also, there was next to no insulation in the walls of the addition, nor was there much in the ceiling or the floor. And don't even get my started on the vapour, or lack there of, barrier.
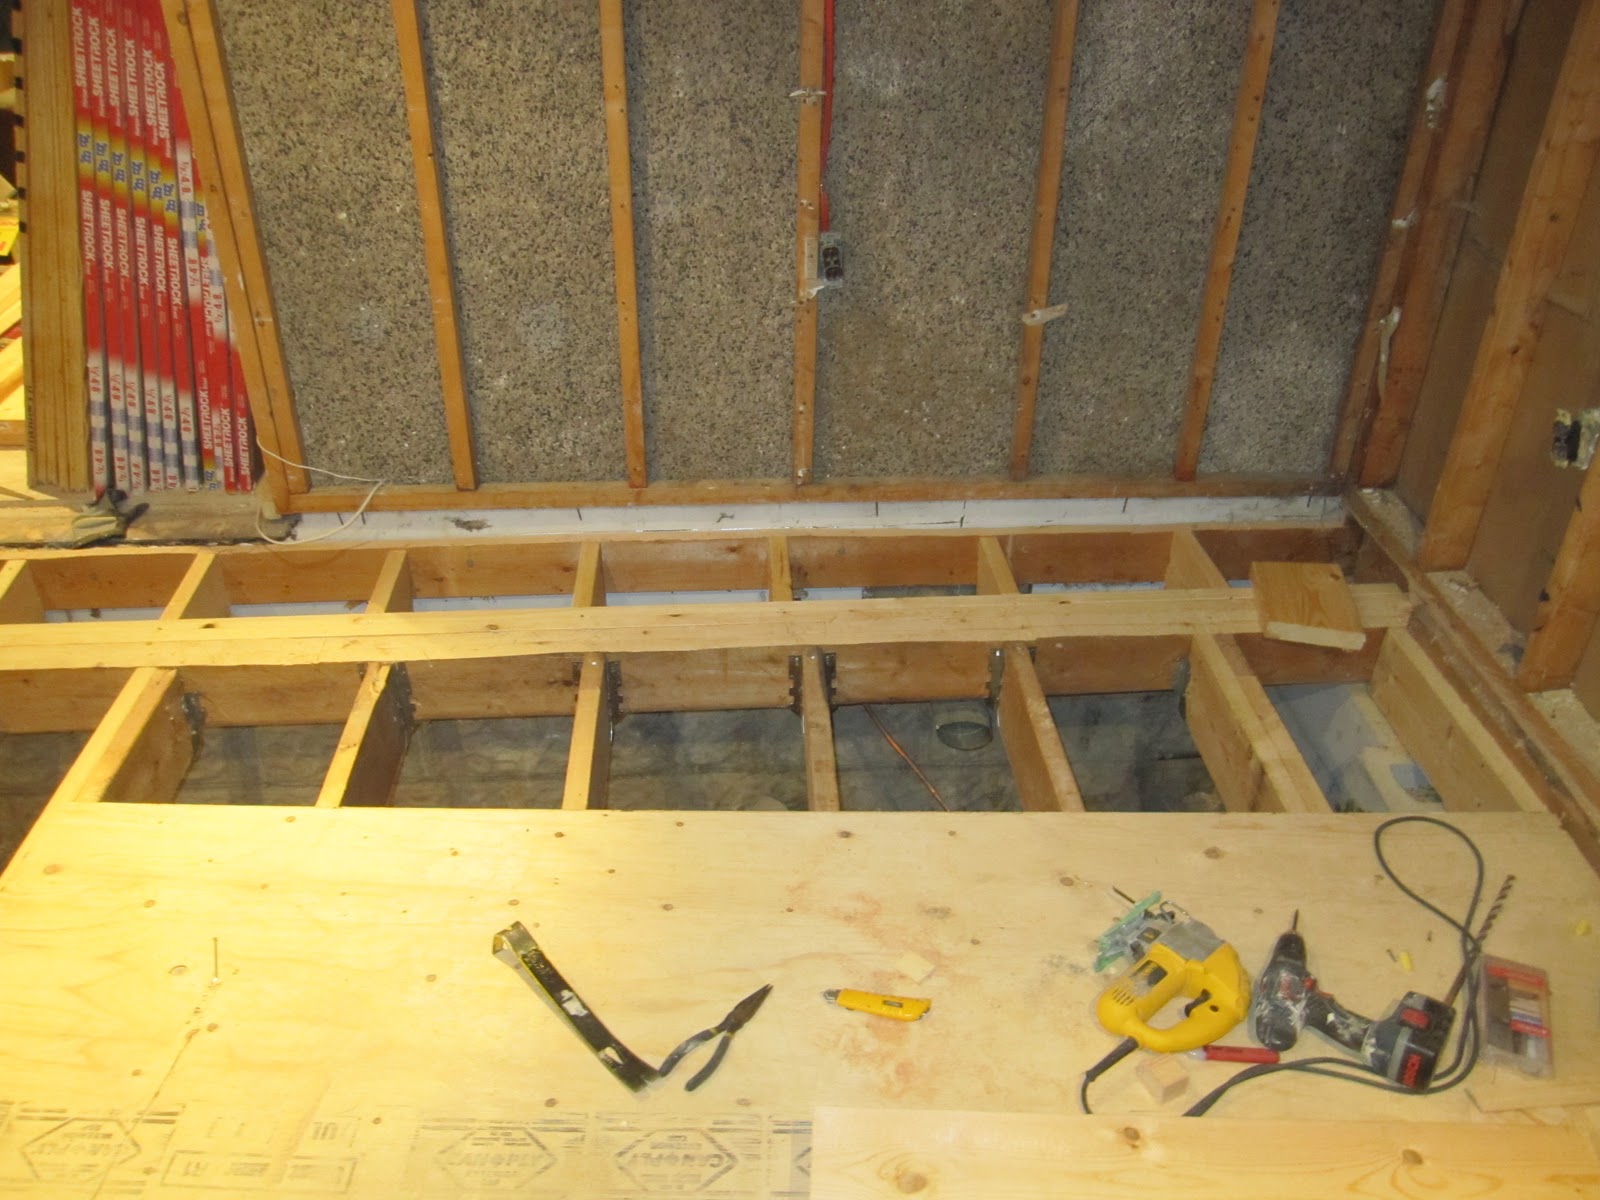
With lots of help from the cats Derek got the floor/ground tidied up, pulled out all of the errant nails and generally just got the space ready to put back together.


One of my good work friends, Colin, came over to help Derek work out his plan of attack for leveling the floor. The plan involved lots of lumber, brackets, and some fun power tools.
Derek used the reciprocating saw and his fancy new hand planer to bring the floor as close to level as possible. At the very least, it's flat. He beefed up the structure, added in hangers and put blocking in allllll over the place.

One very very big trip to Home Depot later saw us outfitted with most of the supplies we'd need to finish off the room. It also meant we lost use of our lovely bathroom for a few days. We got very lucky, as the timing of a sale on Roxul (the green batt insulation) and drywall just happened to coincide perfectly with this stage of the project. We ended up having to rent the van from Home Depot to get our haul home. And, honestly, I'm surprised we'd never rented the van before. $20 + gas for 90 minutes and we brought a LOT home. See?

Chloe sat on top of the pile of insulation for as long as it was there. She loved it!
Also, the pile of junk in the front? That's my dining room table. Oh joy.

We used strips of Tyvek stapled to the underside of the floor joist to hold up the insulation in order to put the vapour barrier on the warm side, unlike before. The cats were so used to playing down in the dirt that they had to see if they could walk along the newly insulated floor.

Luckily, no one fell through.

After that, Derek screwed down the new plywood and we no longer have a hump!
You can also see my handy dandy insulation job here. Now, normally I loathe insulating. I hate how the bits just get everywhere, but this time I was motivated to grow a pair and do it. You see, at this point we were nearly the end of October, and it was starting to get mighty chilly. We outright refused to turn on the furnace until that back room at least had insulation and vapour barrier on the walls, so, I sealed myself into a somewhat impermeable jacket and went to work.
This job was a lot of work. And unfortunately, it was a lot of work that I couldn't really help with. We will never know why the previous homeowners thought that the job their contractors did on this addition was acceptable, but I guess it doesn't matter now, it's gone!
Next time I'll share the oh-so-lovely story of the ceiling, including how we found out why they had 2 layers of drywall on the ceiling with strapping in between! Spoiler alert: it's not because the ceiling was flat.


I'm so glad you updated. Your title on my reading list made me do a double take. :) I can see why it took you so long to update! Sounds like a huge project!
ReplyDeleteIt doesn't look like much yet, but it will be fantastic when it's done! Fantastic I tell you.
ReplyDeleteOh man, I cannot wait to see how this turns out!
ReplyDeleteYou and me both Alyson!!
ReplyDeleteThis comment has been removed by the author.
ReplyDeleteIt seems like an educational blog which always some new information to visitors and Enjoying every little bit of it and I have you bookmarked to check out new stuff you blog post.residential painting services
ReplyDelete