I apologize for the lolspeak, but it only seems fitting, as through this whole shower building process it seems to be the cats favourite place to sit.
Just to refresh your memory, this is our inspiration for the shower stall.
image from artistcraft.com
Nice, isn't it? Basically that's a neo angle shower still waist high knee walls and a frameless glass door.
Unfortunately, we don't have the floor space to make ours quite that big, so I set about figuring out just how big we could make the shower and still leave a reasonable amount of space in front of the toilet.
We're visual type people, and like to be able to see what we're doing before the whole thing comes together. So I whipped up something quickly at work one day to get an idea of the spacings we'd have, and sort of what this bathroom would look like when we were done.
The block beside the sink is the space the toilet will occupy. With that model we were able to see how much room there was in front of the toilet and adjust the overall shower dimensions in order to maximize both the clearance in front of the toilet and the shower area. A quick Google search revealed that the standard from the front of a toilet bowl to the closest obstacle should be 21" and that a comfortable shower size is at least 38". While we weren't able to get the full 21" in front of the toilet, it'll still be comfortable. Making sure the shower was big enough was slightly higher on our list of priorities.
Once we'd figured out all the math involved, it was time to start building.
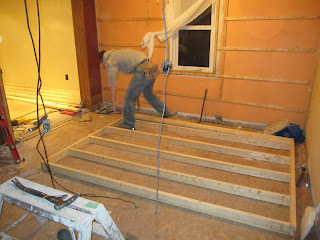
Laying out the base.
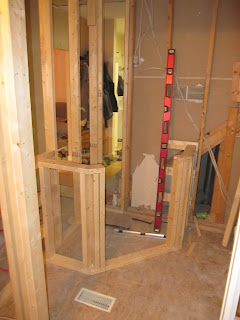
Building up the knee walls.
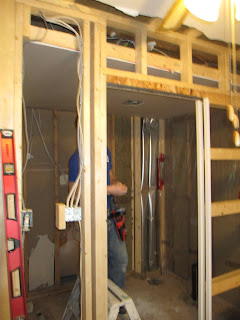
Installing mold resistant drywall.
Ready for the shower pan.
We really wanted to be able to tile the floor of the shower, so one of the prefab shower kits from Home Depot was out, and we didn't want to have to deal with building up and properly sloping the pan ourselves with deck mud, so our best option was a Shluter Kerdi shower system.
image from schluter.com
The kit comes with a presloped styrofoam shower pan, the special Kerdi drain and enough of their membrane to waterproof the entire shower stall. The great thing about using this kit is that we could just cut the styrofoam pan down to the exact size and shape that we needed.
So with the hole cut out for the drain I made a template of the base of the shower stall and got to cutting. Putting my degree in Engineering to good use we ended up with a pan that fit, in the words of Ace Ventura, like a glove. Out jig saw made quick work of the cuts and soon Derek was mixing up thinset.
Using a v-notch trowel I got to work laying down the thinset.
See? I do work too.
We laid down the pan (well, I did, Derek can't stand the sound of styrofoam rubbing together, so he removed himself from the room) and stamped it down.
Then, while Chloe warmed her butt on the new tray, Derek mixed up a bit more thinset to set the drain.
By the time we finished setting the drain it was 3am. Our plumber arrive bright and early at 7am the next day (I guess technically it was the same day, eh?) to finish the work he'd started earlier in the week. Next time I'll show you all our fancy new plumbing, and the holes they made in my house to make it happen!


